Replacing Garage Door Panels: A Step-by-Step Guide to Restoration

Garage door panels can become damaged over time due to accidents, weather exposure, or general wear and tear.
Fortunately, replacing a damaged panel is a relatively straightforward process that can restore the appearance and functionality of your garage door. Here’s a step-by-step guide to replacing garage door panels:
- Assess the Damage: Start by assessing the extent of the damage to determine if the panel needs repair or replacement. If the damage is severe, replacement may be necessary.
- Measure the Panel: Measure the dimensions of the damaged panel to ensure you purchase a replacement panel of the correct size.
- Order the Replacement Panel: Contact the manufacturer or a garage door supplier to order a replacement panel that matches the style and color of your existing door.
- Gather Tools and Materials: Before starting the replacement process, gather the necessary tools and materials, including a screwdriver, pliers, and replacement panel.
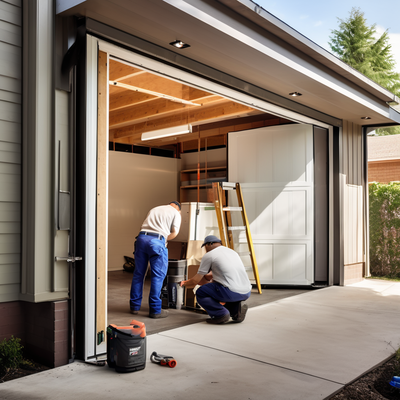
- Remove the Old Panel: Using a screwdriver, carefully remove the screws holding the damaged panel in place. Once the screws are removed, carefully pull the panel away from the door.
- Install the New Panel: Position the replacement panel in place of the old panel and secure it using the screws provided.
- Test the Door: After installing the new panel, test the garage door to ensure it opens and closes smoothly without any issues.
Leave A Comment